Showing posts with label designing. Show all posts

22 Jul 2023

"Adalia"


 This is the third try and final result of the project that I started earlier. This is a one-pass design, i.e. the tatting was not in rounds but instead done in one go, moving in from the point, down to the middle and out again, completing each point one by one.

(Read here, https://tatsaway.blogspot.com/2023/07/still-tatting-but-was-distracted.html)

All I can say is that it was not an easy tat. It took me three tries to get this done. Even then there are still mistakes in this final version but they are passable mistakes that do not affect the final design.

I started in early June. 

The first attempt was to get the feel of the stitch count.

The second try was to get the construction process, i.e. to find the better way to move form one element to another in the construction.

The techniques used are basic for shuttle tatting.  What made it a difficult one for me was non-existent of symmetry in certain parts of the design .  I have to keep looking back at the previous parts to see what the next element is. I had to make sure that the shuttles are in the correct working position after each turn, reverse work or flip.

I am not even sure how to write the pattern for this.  I don't feel that the diagram alone is going to be enough !

To relax my mind in between tatting, I doodled.  Here is what is on my sketchpad pad right now.  It is far from finished but the main shapes are there.  I plan to add in darker strokes and shadings, maybe.


8 Jul 2023

Still Tatting but was Distracted

Her is an update on what has happened since my last post on designing.

This is what I had drawn with Inkscape.


Then I used my rings template to tat the piece.  You can barely make out the stitch counts that I used for the prototype, which is this yellow one,

As you can see, I did not finish it. This design is a one-pass design and I needed to see its shape at full circle. Overall it looked okay, but I see that I still have to adjust it here and there. And the result of that is this one below.


You can see the revised one superimposed over the chart, after I have made the changes.  There are mistakes in a couple of places, which is why I didn't bother to hide the thread end.

I should be working on the final version of this (hopefully with no more adjustments) but was distracted by beautiful doodles that I see fly past my FB feed.  So, I just had to give that a try. 

And, these are a couple that I feel happy enough to share. The bottom piece is a WIP.  Doodling is suppose to be calming and not be rushed.  I will share again when I have completely filled it up.


5 Jun 2023

My approach to designing tatting

 I have taken several approaches when designing tatting.

In the early days, it was a pen & paper method where I made sketches of the designs, just a few rings and chains and test-tatted them.  Almost all the time, I will have to make several attempts to get the stitch count right for the repeats and all that.

Another method is I just go with the flow and get it all done. This worked for small motifs. After that I would go back and do the chart.  Sometimes, I just write the count on a photo of the tatting if I am sharing it on my blog or Facebook.

Most of the time I would have a polar graph paper with me which I use to make sure that the elements fall into the sections for the repeats, whether they are 4 repeats, 6 repeats or 10 repeats, etc. Polar graph papers are handy because they have concentric circles and spokes all drawn out. The circles  marked the rounds, while the spokes mark the number of repeats that I want in the design.

A little later, I dabble with drawing software to draw the chart after I have completed the piece.  This method has worked for me all this while, though sometimes I feel it draining trying to replicate the finished work in chart form.  I am currently using Inkscape to draw the chart.

Suddenly, it dawned on me to reverse the process. Get the design done in chart form and then do the tatting. I don't believe that it is a new method, but it certainly is new-to-me since I have not tried it before.

I have already drawn a chart of a small doily that I want to try out.  The next step is to determine the stitch count for each element.

During one of the Online Tatting Classes on designing (I think), Sue Fuller mentioned that a good way to pick stitch counts is to make a template of rings of different counts. And that was what I did.


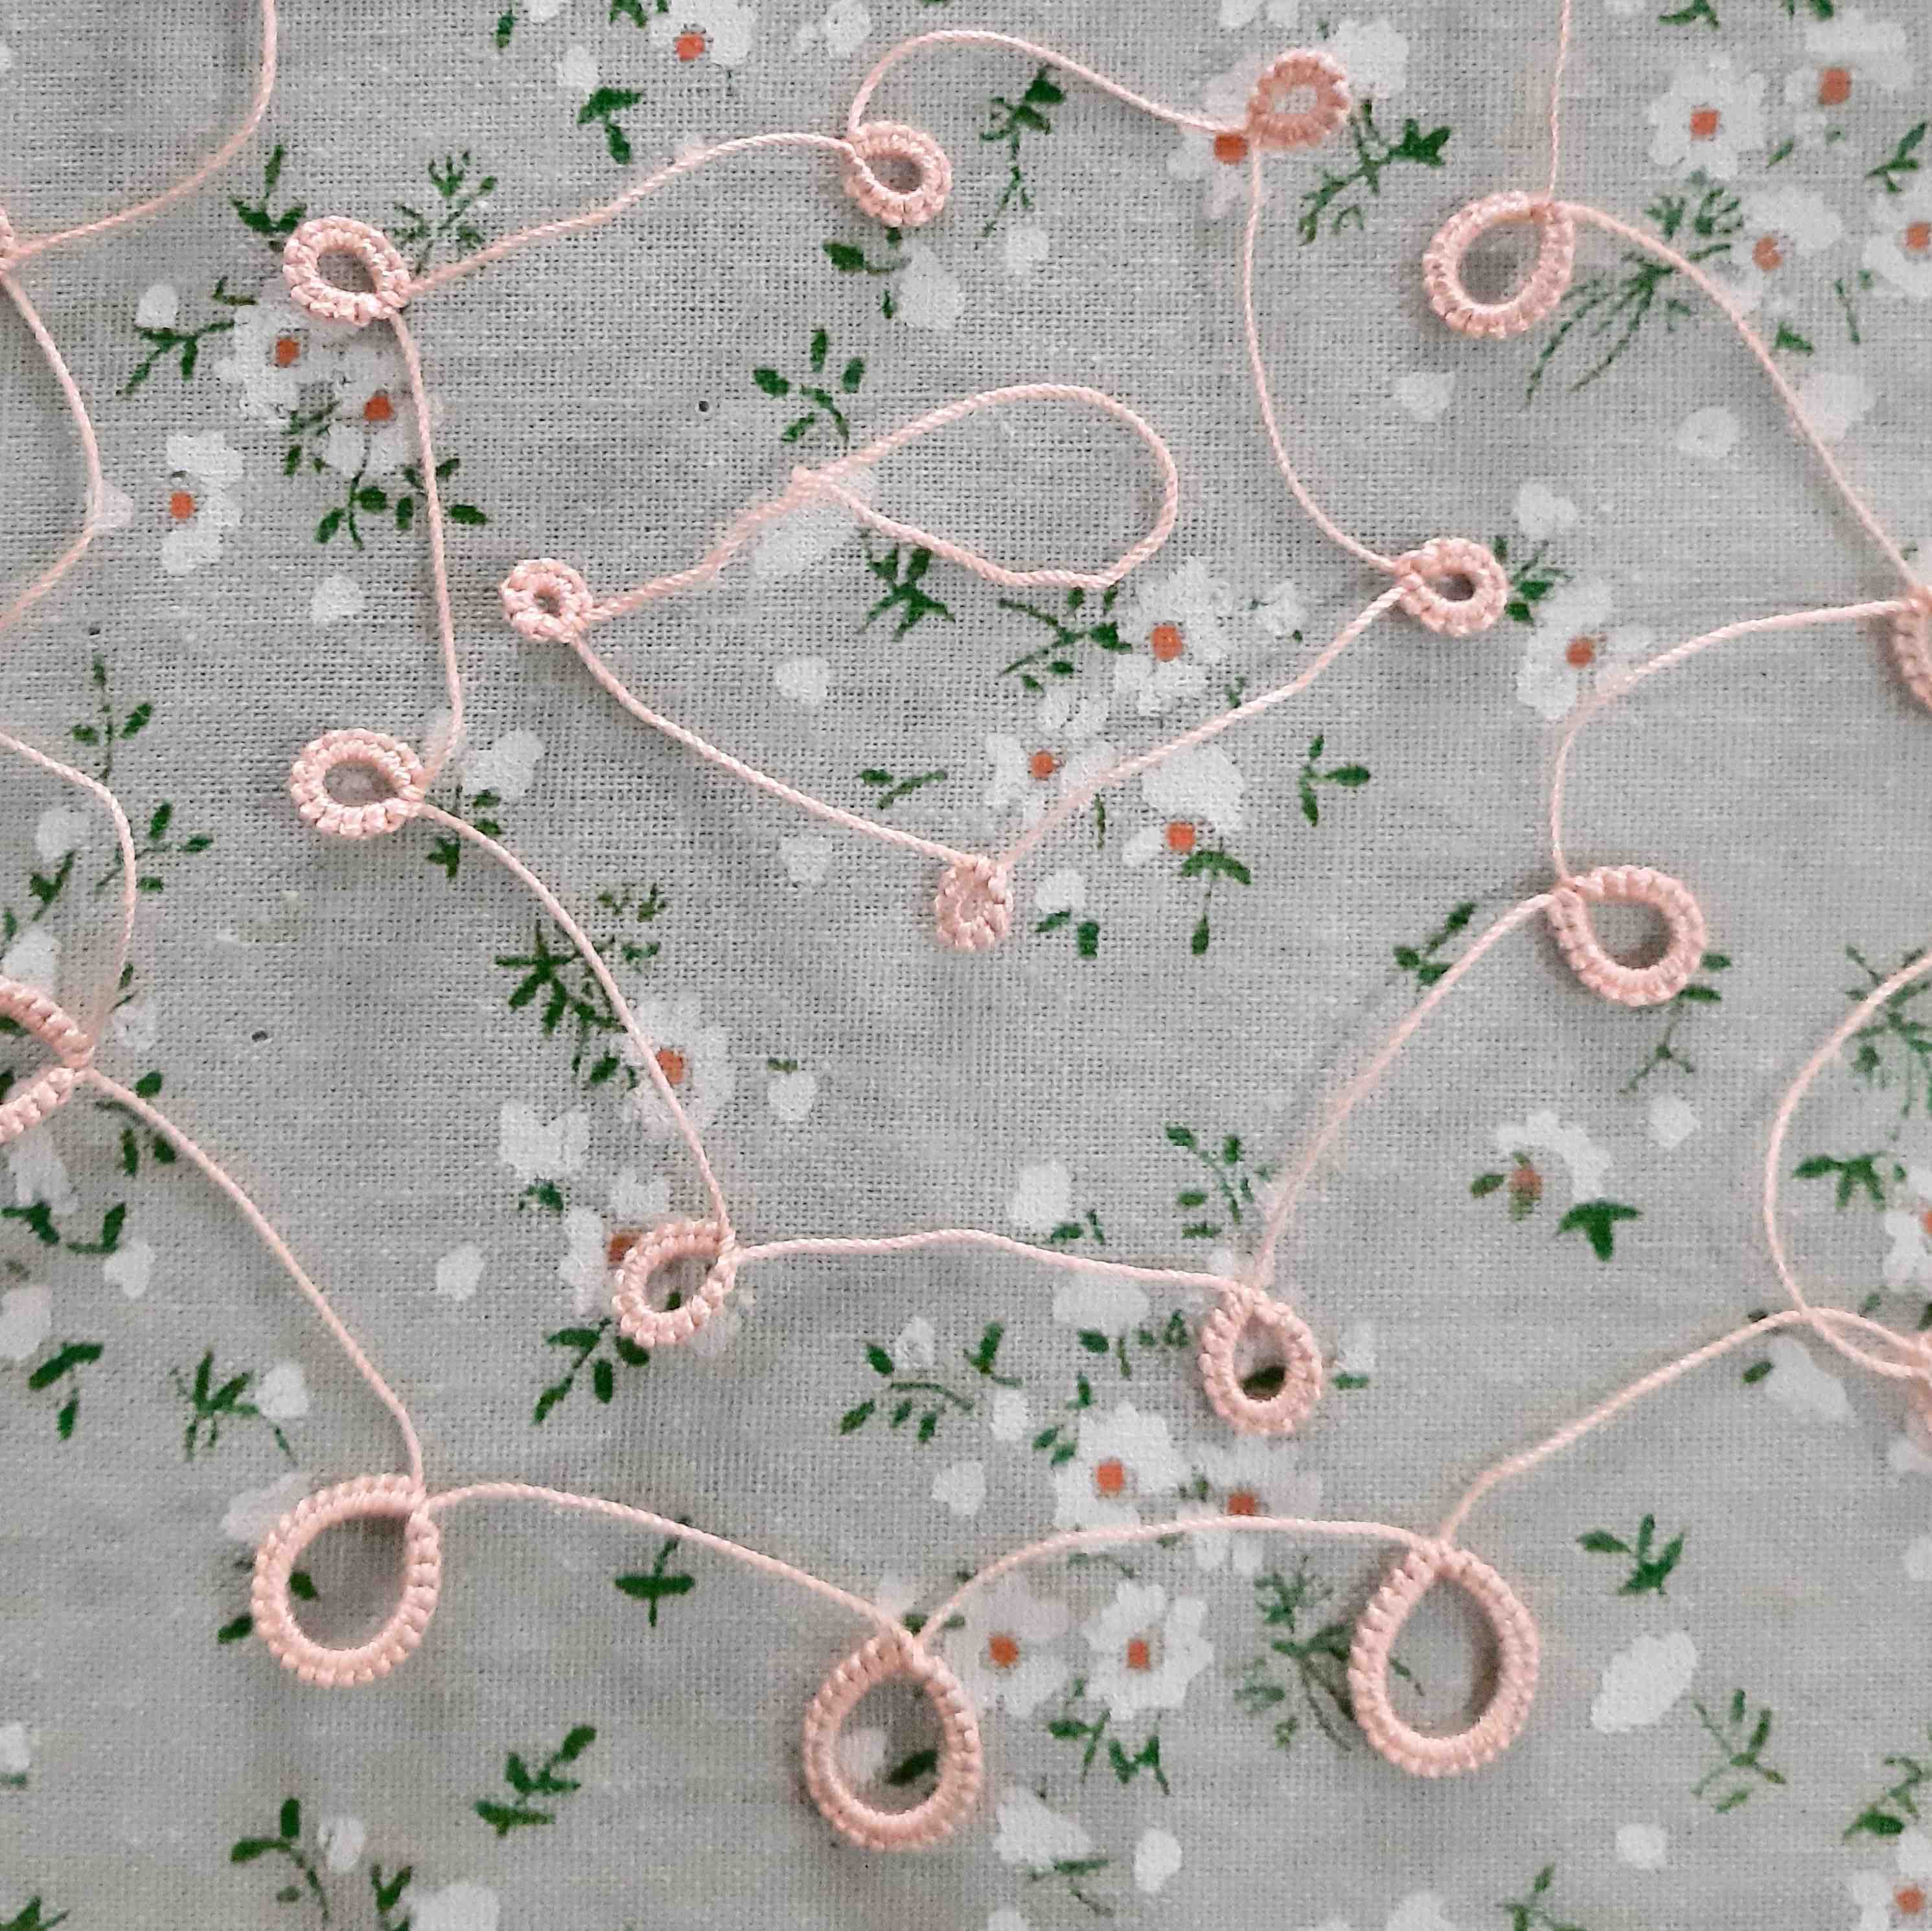
To make it easy for me, I labelled each ring with the number of stitches it contains. The smallest ring has a count of 8 double stitches while the largest contains 30 double stitches.  I don't often design with large rings, so I may not even use more than 30.  If there is a need for that, I may consider self-closing mock rings instead.

This is how the rings template will be used together with my chart. In this case, that middle ring of the trefoil will contain 24 double stitches.

I have not done a similar template for chains.  I figure they are quite straight forward and I can measure each one on the chart as I go.

Righto then, let's see how this goes.

Many liked this from earlier